


Board game packagings are really important for sales. Indeed, these boxes are the first thing that people see in a game store. They represent the first point of contact with observers hence they should catch their attention as well as explain the game. This is no mean feat. In this article, you will find some useful suggestion to design your custom board game packagings.
As already told, the packaging is the first thing that customers see and maybe the only one they will look at to have some practical information before buying the product.
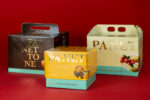
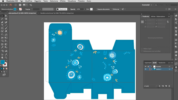
To start creating your boxes, you should define all the technical and structural aspects of your package first. You also need to know that the packaging most commonly used for table games is the lid and bottom box. However, you can always experiment with other models.
After you chose the box, the material, and the sizes, you can start designing your custom artwork. Try to create a visual design that is compelling as well as informative.
Board game packagings graphic design
Before designing your artwork, you have to observe the purchase behavior of your target. You may start by analyzing how you behave when purchasing a game; then you can study your friends and finally all the other gamers. Observing consumer behavior helps you learn what makes people pick a game up and what compels them to purchase. It also allows avoiding blunders.
Then, you might arrange all the information and the graphic elements on the box areas. Each packaging zone should contain specific texts, logos, and images according to its purpose. Texts and images should be explicative and coherent with the game style.
Get ready for some practical advice on laying out the graphic design of your custom board game packagings. We will now analyze the lid and bottom box.
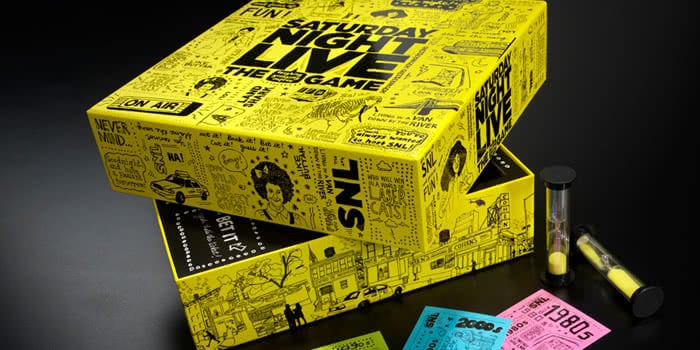
Front (Lid)
The must-have elements on the front are:
- Cover art
- Big title
- Tagline or flavor text
- Name of game designer
Cover art has to be the best and most compelling you have ever created. The cover should make your game shine so that consumers want to pick it up and turn it over.
If you have enough space you might add:
- Number of players
- Age range
- Time to play
Remember: the front of the box doesn’t explain the game, it only has to get someone to pick up the box to find out more about the game. Additional information is not required.
Sides
On the sides of the box we suggest repeating:
- Title
- Number of players
- Age range
- Time to play
In this way, the essential information will be viewable even when the packages are lined up. The side background may be an extension of the cover or an independent element as long as it will seamlessly integrate with the rest of the artwork.
Back (Bottom)
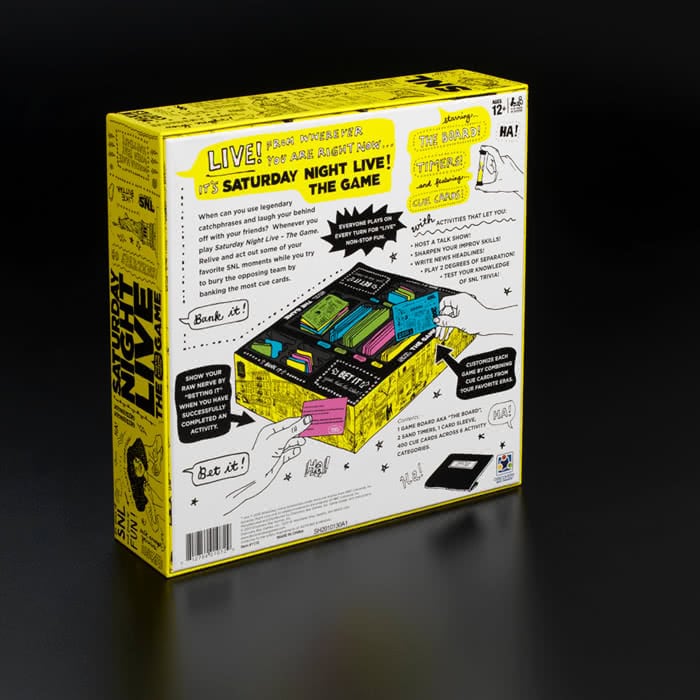
Show the pieces of the game in action through illustrations or pictures. In this way, anyone can understand and explain how to play your game by looking at the back of the box. Add a short description of the game using a simple, concise and funny language. Speak directly to your customer to encourage emotional engagement. Avoid big blocks of text you may break it up into bullets and paragraphs to facilitate reading.
You can also add the UPC and any other legal symbol required on the back side.
Now you ready to design your custom board game packagings. Once you’ve done it, share your results!