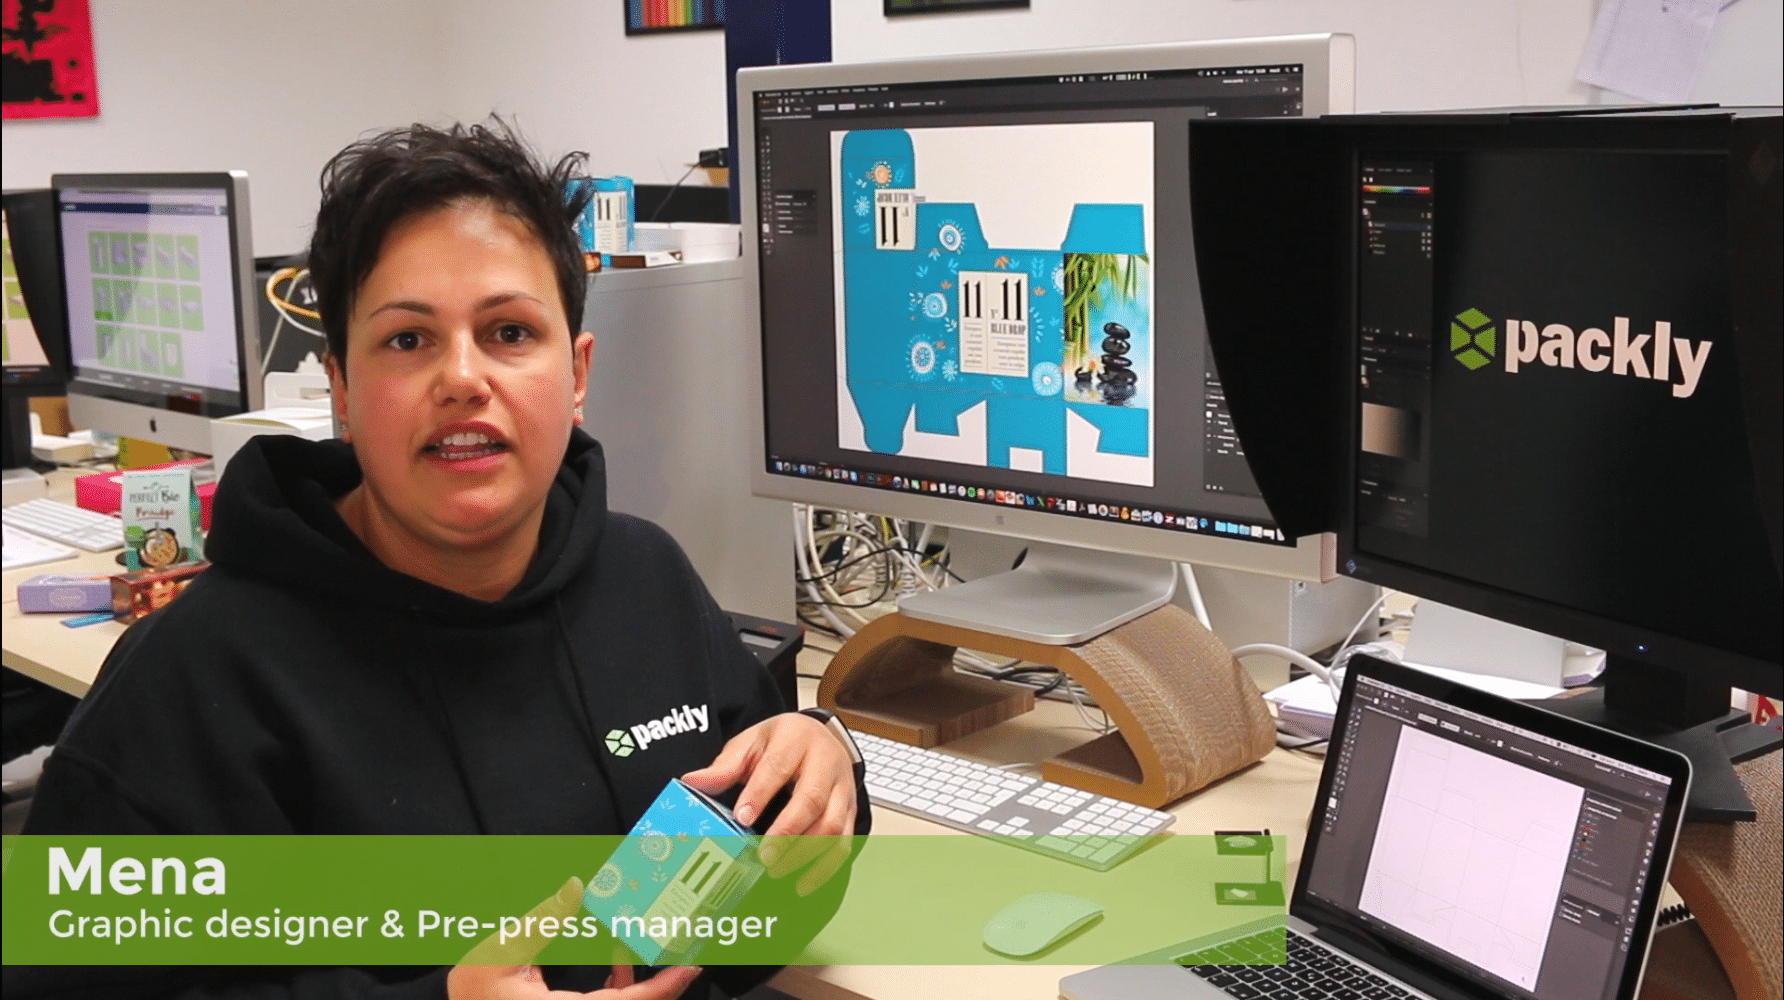


In this video Mena, graphic designer and pre-press manager, will shortly explain to you how to customize Packly’s dieline using Adobe Illustrator®. In this way you can start creating the custom graphic design for your bespoke packaging.
What do you need? Just a few things!
- Packly’s diecut template in PDF
- A vector graphic design software, preferably Adobe Illustrator®.
And now take a moment and have a look at our video!
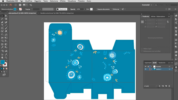
- Open the diecut file: menu file > open > select from your computer the file to upload.
- Create a full background: select a green segment (click sx) > select menu > same > stroke color; join the diecut from object menu > path > join; and drag the diecut on a new layer specifically created for the artwork (layers panel f7) through the cut-paste in place tool or copy-paste in place.
Remember: the diecut template should never be modified/moved and have to be always on a different layer from the graphics one. Outside bleed is an exception, if not modified, because it may be a useful tool to create a full background. That’s why, once you moved the shape created, lock the diecut layer. - Add background color: select the shape, in tool panel click twice on the fill color and enter the CMYK color percentage values for your background.
- Bring the diecut template forward: in layers panel select the graphic one and drag it under the diecut layer. In this way, you will always view the cut and crease lines.
- Save the working file: file > save as > .ai format.
Remember: the graphic design background (whether full backgrounds, texture or images) should always be extended to the bleed green lines, in order to avoid unaesthetic white edges, in case of sliding of the sheet during the cut.
These simple tricks are the first steps to customize Packly‘s dieline and create a proper printing graphic file.
Do you like to find out how to go ahead? In the next video about graphic design in a nutshell we will explain to you how to add various graphic elements on your box…don’t miss it!