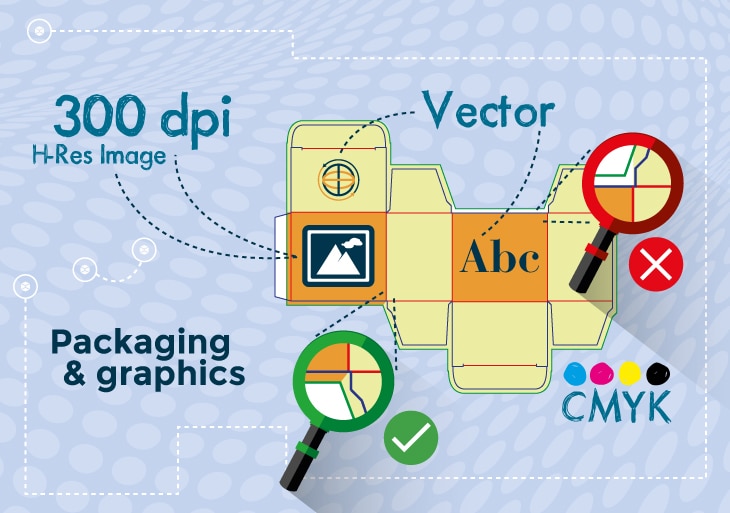
Our daily article is a useful tips collection to create printing file for your custom packaging.
Design a proper printing file in high quality is crucial for the success of your projects. Source files have to contain all the necessary information to reach good graphics and color results and the different elements have to be designed and positioned according some required rules to avoid printing problems. First of all you need to know that a printing file has to be created in CMYK mode.
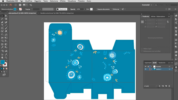
Packly allows you to download a custom die-cut template – that has to be in the printing file. The die-cut is composed of three different paths: green lines, that indicate where your artwork should be extended, blue lines indicate where the graphics artwork will be trimmed, red lines indicate where the box will be scored/folded. That colours must never be used into the printing file because they represent the manufacturing information of the product. Graphic elements realised using Packly’s spot colours might not be printed or might be processed as indicated by the manufacturing colours.
Beginners will surely think: my graphics shouldn’t cross the cutting lines. Wrong thought, in fact it depends on the case. If you have to realise a colored background or a background image both have to be extended to the green borders. During die-cutting and creasing the paperboard sheet could be subject to a displacement (in terms of microns) that’s why the graphics has to be extended to the bleed in order to avoid a white border.
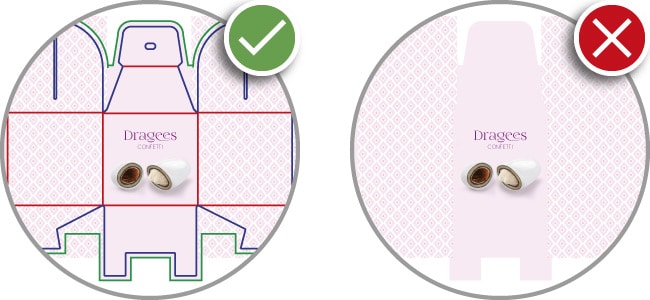
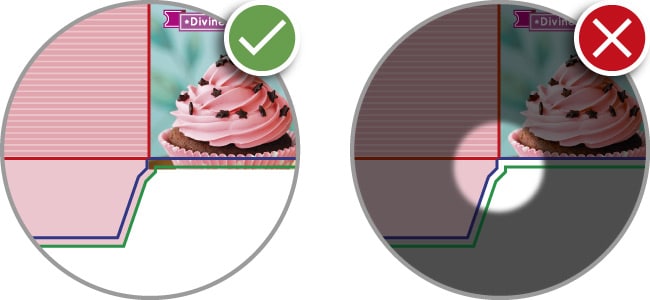
How to: Packly team suggests how to create a perfectly shaped colored background. Open your vector die-cut template in a graphic software, select all the bleed lines, duplicate and paste them in place in a new layer (graphics layer) and join them. Lock the diecut’s layer and don’t edit it, move and bring it forward and create your background: you can fill the bleed shape or realise many different geometric shapes to cover it, then use the bleed path as cutting mask to trim the shapes along the green lines.
Because of sheet displacements it is important to place pictures, symbols and texts at 3/5 mm minimum from blue and red lines to prevent them from being accidentally cut or end up on the crease.
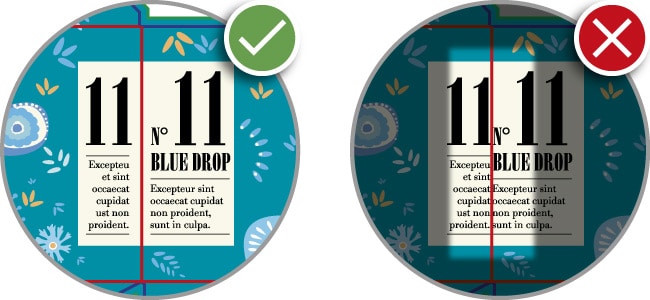
We suggest setting ‘overprinting‘ for the die-cut template lines in order to manage colours overlay: in fact, by default, when you print overlapping colors, the top colour knocks out the area underneath. Overprinting is used to prevent knockout and make the top colour appear transparent in relation to the underlying ink. It is useful to set overprinting also for black text placed on a colored background to avoid the ‘out of register’: when the text doesn’t overlap perfectly the background – if it isn’t overpinted – there will be a white border out of the typefaces.
N.B. To set overprinting in photo editing software you have to select the diecut’s layer put it forward and select the ‘multply’ layer effect.
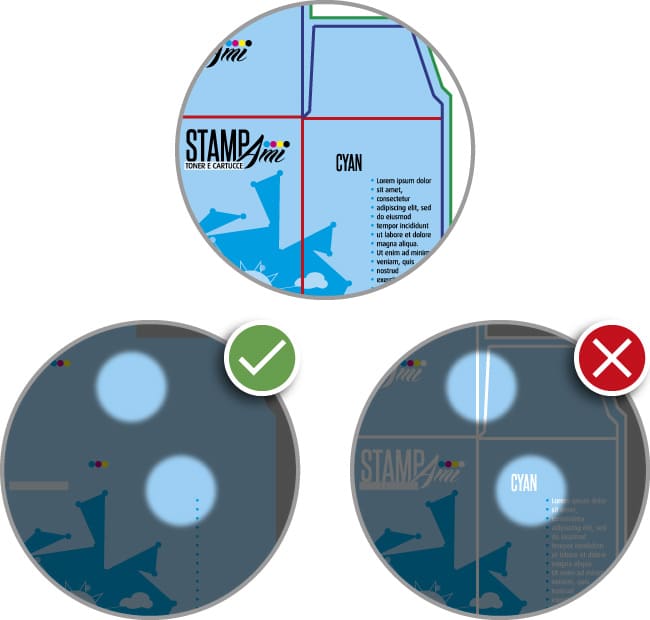
How to: learn how the overprinting works in an easy way, hide the diecut’s layer and if you see the white border of the template on the graphics layer it means that it wasn’t overprinted.
We need to talk about the black for a while. The experts already know that for black texts on a white background the colour percentages has to be 100 only for the K value, but if you want to realise a black background the only K isn’t enough, you need to change the values of the other colours. Their percentages depend on the printing technologies that will be used.
How to: if you have to print your custom boxes with a black background on Packly we suggest using the following values: C=60% M=30% Y=10% K=100%
If you want to use images they have to be in high resolution (300dpi).
The orientation of images, logos and texts varies according to the box. The die-cut template shows you the external side of the opened packaging. Each side will be folded to generate the final box, that’s the reason why you have to pay a particular attention on the orientation of the graphical elements based on the flaps.
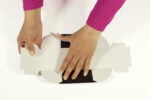
How to: you could print on a paper sheet the diecut and then fold the box to analyse the different orientations and avoid graphical mistakes.
Once you design your graphics you only have to save your printing file as high resolution PDF with the two layers and no embedded color profile.
N. B. If your artwork has shadows remember to save them as 300 DPI ( Effect > Document Raster Effects Settings > High Resolution).
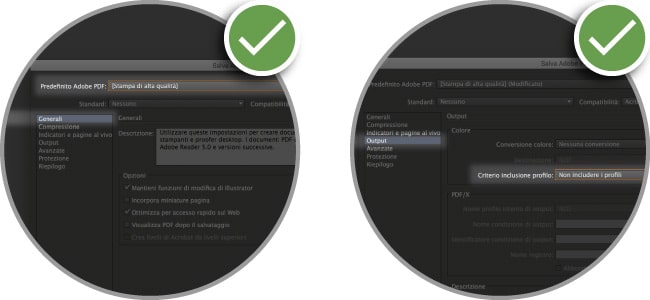
How to: save as PDF with ‘Layers’, high quality print and without embedded colour profile (Output->Colour->Profil Inclusion Policy->Don’t include profiles)
By following our tips your printing file will have no technical problem and will be ready to print.
For any further information or suggestion leave a comment on this post.
